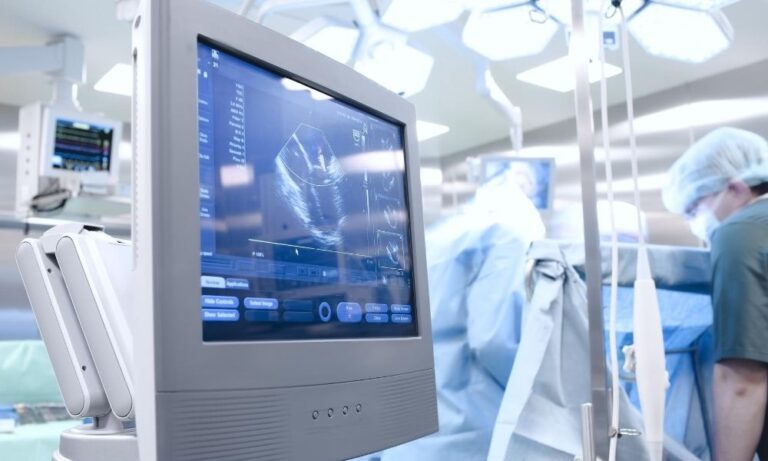
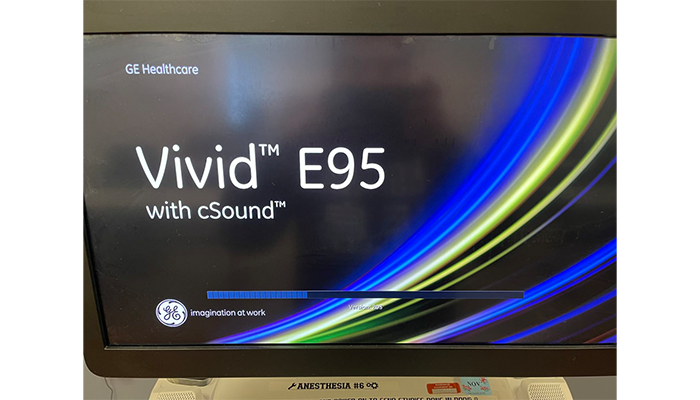
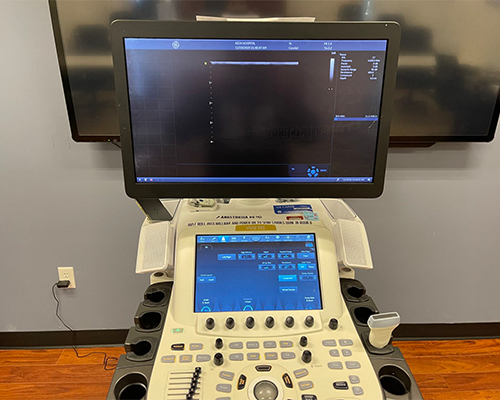
In the midst of the COVID-19 pandemic, I received a call from the MXR Service Department regarding a referred distress call. The distress call came from a troubled healthcare facility that had an Operating Room incident, which resulted in the spilling of almost an entire bag of blood on top of their GE Vivid E95 ultrasound. The blood had spilled over the back of the machine and leaked through the cosmetics, entering the card cage and power supply. Not only were they worried about contamination, but apparently, when the body fluid reached the power supply, the ultrasound machine shut down.
Seeking a Second Opinion for the Ultrasound Machine
The medical facility had already been in contact with their service provider and were told that the unit was unrepairable and they would need to replace it at a cost of $250K. MXR Imaging was a good choice for a second opinion because of our extensive ultrasound experience. After our on-site FSE team initially assessed the system and gathered all the relevant information from the customer, we quoted the work. We knew if there was a chance to save the unit, our ultrasound engineering expertise would be their best option. They agreed to send us the unit for a full evaluation.
Assessing the Blood-Contaminated Ultrasound Machine
When the system first arrived, I personally conducted a top-to-bottom inspection. It had been six weeks since the incident, and I noticed that almost every cosmetic cover had some remnant of blood contamination. I removed all of the cosmetic covers right down to the frame and placed them on a cart for decontamination.
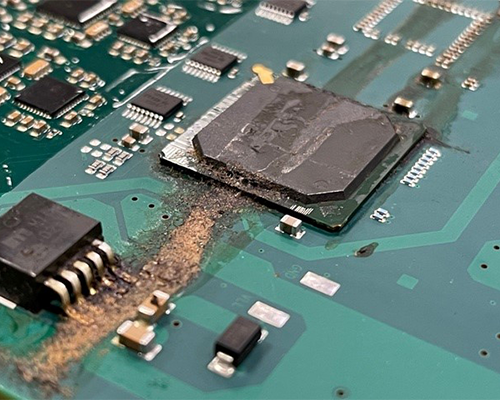
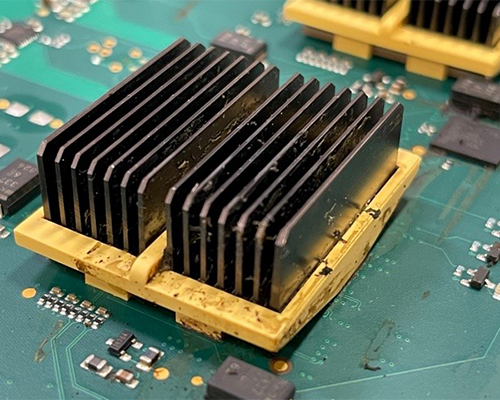
I gathered the parts from inventory that I knew would need to be replaced: the main power supply and the fan tray. Since replacing the fan tray would require opening up the card cage, I took this opportunity to inspect the cards inside. Sure enough, all of the cards had blood residue on them; some cards were worse than others.
The card cage itself was covered in blood. The system frame had a large pool of dried blood just underneath the card cage but just above the fan tray.
The Ultrasound Decontamination Process
The GRLY board and the backplane had the least amount of blood on them, and I was able to decontaminate these parts for reuse. The remaining cards had large pools of blood that had dried on the board. I initially thought that I would be able to clean the blood off by using our ultrasonic cleaning method, which is usually quite powerful and has proved successful in other repairs, but this proved to be unsuccessful, even after three cycles.
Upon further inspection, I found that some blood had traveled underneath the BGA chips. With this new discovery, I decided the boards needed replacing since I would be unable to clean the BGA chips without removing each chip one by one.
I removed all of the boards and the card cage itself and replaced the cage. I cleaned the boards that could be cleaned and replaced the others that were unable to be cleaned.

Now that the cage was out, I could focus on the large pool of blood at the bottom of the frame. I scrubbed off all of the excess dried blood before applying bleach solution to continue the disinfection process. Meanwhile, I also worked on disinfecting the cosmetic covers and trim.

Due to the amount of blood and the extent of how long it had been dried onto the system, we had to soak the cosmetic pieces to ensure the components were completely sanitized and returned to a like-new condition. I then cleaned the rest of the frame in the same manner and allowed proper dry time between disinfectant cycles.
Final Repairs and Success
Once this was all complete, I began reinstalling the card cage, cards, BEP, power supply, and all of the cable connections. The system powered right up; however, I got an error code just before entering imaging mode. I decided to replace the hard drive inside the BEP and reloaded the software. This remedied the situation, and the system now booted up without any issue.
I reloaded the customer’s presets, and the machine was now back in working order.
After conducting the final inspections, I reinstalled all of the cosmetic pieces, cleaned up the control panel, trackball, trackball ring, and the touchscreen and main monitor. The system was now complete and functioning to OEM specifications.
Saving Major Expense
We were able to return a fully functional GE Vivid E95 system to the California healthcare facility, which was pleased we saved them $250K. Although this is not a service we usually provide, it was a testament to MXR Imaging's unique capabilities.
Authored by Erasmo (Mo) Sanchez
Repair Manager
MXR Imaging. Inc